
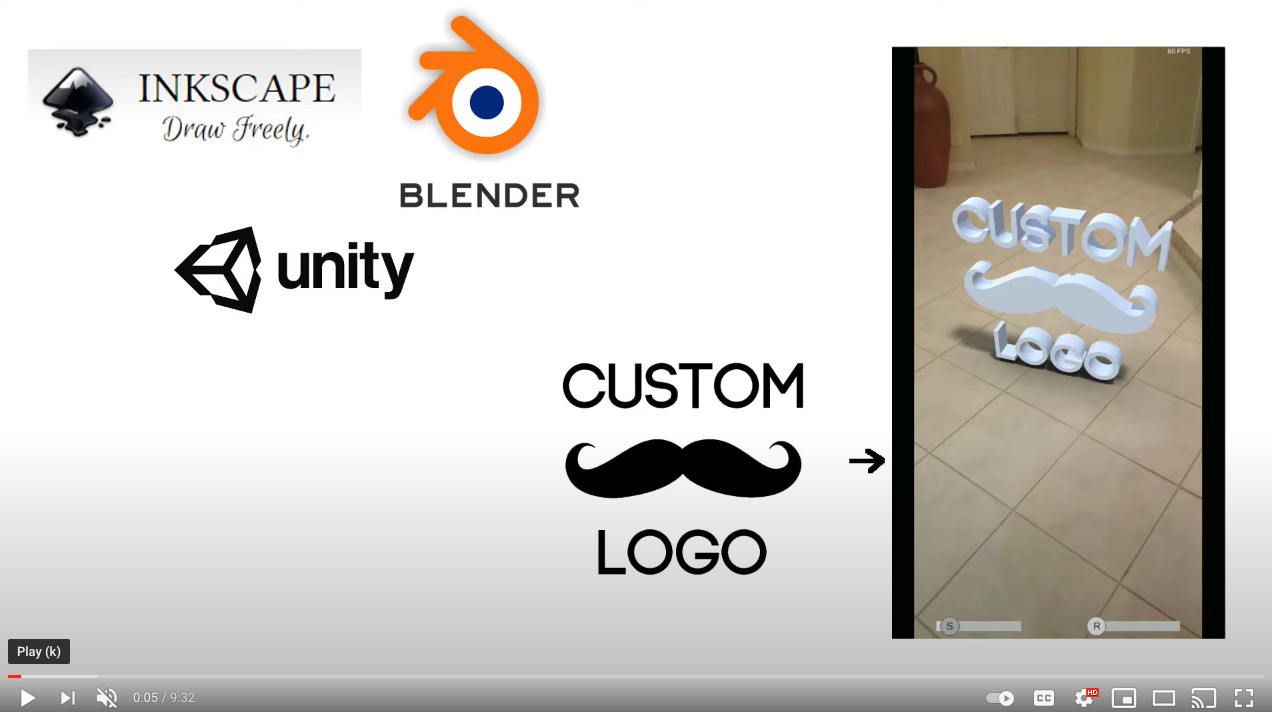
Converting 2D image to 3D Augmented Reality content
This is an article I published on Unity Connect for fellow users experimenting with Augmented Reality.
Learn how to use Inkscape and Blender to convert a 2D logo into a 3D model with Raytraced shadows, and then use that content in a template ARFoundation project.
Converting a plain 2d logo into 3D.
I’ve played with Blender enough to know how to extrude and setup a light to cast a shadow, but I wasn’t quite sure how to model out an object from a 2D image itself. After some research, Inkscape ended up being the solution - just get the .jpg or .png into .svg, which Blender can import as a curve.
As a workflow, I ended up with the following:
-
Import a .jpg/.png of the logo into Inkscape
-
Use the Path/Trace Bitmap to isolate clean lines from the logo
-
Save out the result as a .SVG
-
Import the .SVG into Blender, (as a curve) and then center it up in blender’s workspace
-
(Alt-C) to convert the curve into a mesh
-
Apply Rotation/Scale and Location to set the mesh’s center
-
Edit the mesh, cleaning up and reducing unnecessary faces
-
Extrude the mesh to 3D, and then use Blender’s decimate modifier to reduce edges/faces/tris as much as possible without compromising minimum detail needed.
-
Render and save a high quality transparent image of the logo’s shadow when projected onto a shadow plane. 10. Export the 3d logo and shadow plane as one .fbx object
Here’s a video tutorial of the above part 1:
 Click to watch the video.
I’ve created a Github link to house the Blender .blend file which has all the components (shadow plane, cameras, etc.) that are turn-key if you follow the video.
Github link: https://github.com/rodellison/ARLogoWithShadow
Using the 3D logo with ray-traced shadow as content in your Unity ARFoundation app
There’s a fantastic tutorial by The Unity Workbench that helped me immensely in getting a decent understanding of how to setup an ARFoundation project/app. I highly recommend watching it as he covers setting up project properties for both Android and iOS, the core scripting which detects planes and places the placement indictor, and he also mentions the technique used in rendering the toy plane’s ‘shadow’. As the shadow he created really gave the Toy Plane a nice solid appearance with depth when projected as AR content, it was that which prompted me to learn how to create high quality ray traced shadows for my own objects in Blender.
 Click to watch the video.
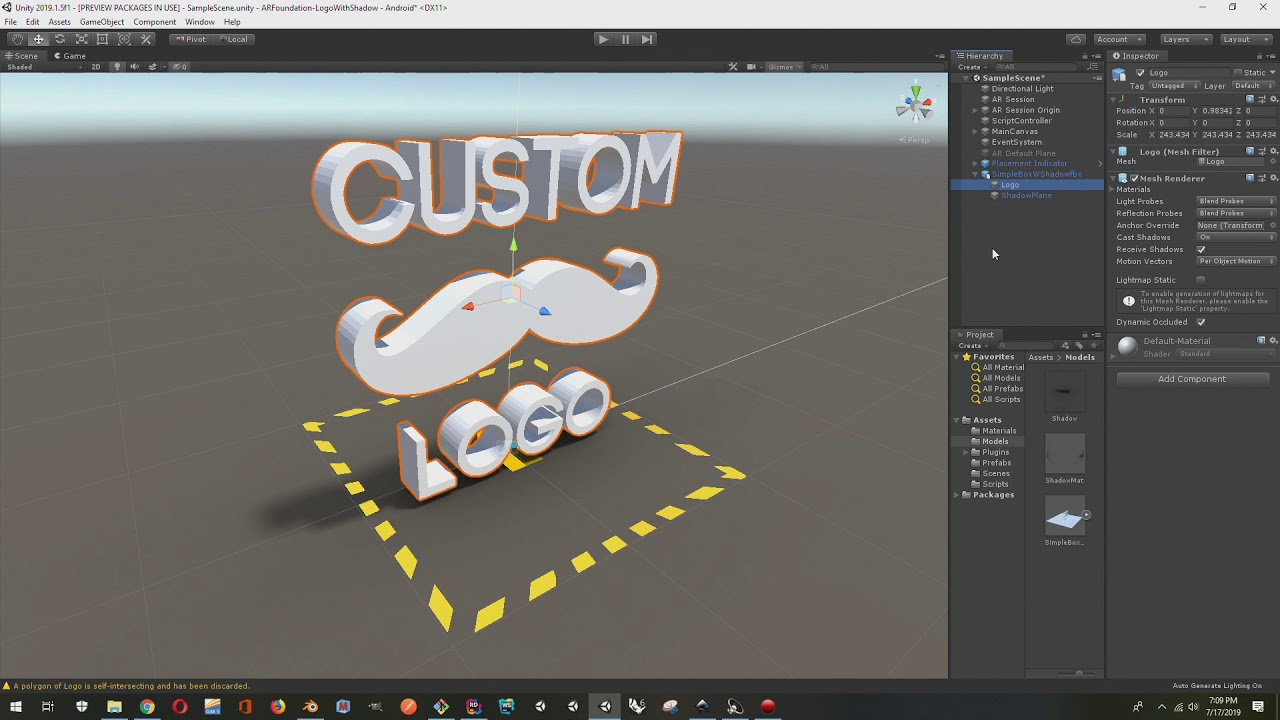
From The Unity Workbench’s video and his attached project links, I was able to setup my own Unity ARFoundation template project, for which I then added some additional scaling/rotation functionality via some scripting and a UI canvas that his project didn’t cover.
Github link to my template is here: https://github.com/rodellison/ARFoundation-LogoWithShadow
For the most part this project is turn-key, it’s using Unity 2019.1.5, and packages: • ARFoundation (preview.2 of 2.2.0) • ARCore (preview.4 of 2.1) • ARKit (preview.5 of 2.1)The basic steps to use it for your own needs:
- Import your .fbx model and shadow .png texture you created from the Inkscape/Blender tutorial above.
- In the image import settings for your shadow .png, ensure you check the alpha is transparency, clamp (instead of repeat), and set your max size as needed.
- Create a Unity material using an unlit/transparent shader to house your .png shadow texture
- Drag your model out to the scene so you can apply the shadow material texture (to the shadow plane), and adjust any rotations you may need (due to going from blender to unity - i.e.. blender uses z as the vertical, instead of y).
- Create a Prefab of your object. Note: After the prefab is created, remove the object from the scene, as it will be dynamically instantiated at run time.
- In the main script (ARTapToPlaceObject.cs) which is attached to the ARSessionOrigin game object, drag your newly created prefab into the ‘ObjectToPlace’ parameter.
- Build the app (android or ios)
Here’s a video tutorial of the above part 2:
 Click to watch the video.